Demolishing old ceramic or porcelain tiles creates massive friction during interior renovations. The process requires intense manual labor. It drives up short-term project expenses rapidly. It also releases hazardous silica dust into your living or working environment. Property owners often struggle between achieving a modern aesthetic and managing these severe project delays. Applying modern wall panels directly over existing tile surfaces offers a highly effective alternative. This direct method compresses your project timelines significantly. It also heavily reduces logistical overhead and cleanup requirements. Yes, you can install a carbon crystal board directly over existing tiles. However, the original substrate must meet strict structural integrity and flatness criteria to guarantee lasting stability. In this guide, you will learn exactly how to evaluate your current walls for overlays. We will also walk you through the correct adhesive protocols and step-by-step installation techniques required for a flawless, durable finish.
Key Takeaways
Structural Prerequisite: Direct overlay is only viable if the existing tiles are firmly bonded, crack-free, and structurally sound.
Time & Cost Efficiency: Bypassing demolition cuts installation timelines by up to 70% and eliminates debris disposal costs.
Material Match: High-density panels, such as the 8mm Glossy Marble Carbon Wall Panel, provide the necessary rigidity to bridge grout lines without telegraphing (showing indentations).
Adhesion Mandate: Standard construction adhesives will fail on glazed tiles; specialized structural polymers or heavy-duty polyurethane adhesives are required.
1. The Business Case: Demolition vs. Direct Overlay
Cost and Timeline Framing
Traditional tile removal demands significant labor hours. A standard bathroom demolition can easily consume two to three full workdays. Workers must break the tiles, haul heavy debris, and dispose of it legally. Next, you usually face extensive drywall repairs. You might even need to install new cement boards and waterproofing membranes. Direct panel overlays eliminate these initial stages entirely. You skip the demolition phase and jump straight into preparation and installation. This approach can shave days or even weeks off a remodeling schedule. It keeps labor costs strictly tied to the installation itself.
Site Disruption Minimization
Dust-free renovations hold immense value for commercial spaces. Hotels cannot afford to take rooms offline for extended periods. Hospitals require strict particulate control to protect vulnerable patients. Occupied residential homes also benefit greatly. Homeowners can remain in their houses without dealing with pervasive demolition dust. A direct overlay keeps the site clean. It limits noise pollution significantly. It allows adjacent rooms to function normally while the renovation occurs. We consider this minimal disruption a primary driver for choosing modern wall panels.
Success Criteria for Overlay
A successful direct overlay must meet specific performance standards. First, you must achieve zero delamination. The new panels should remain permanently bonded to the old tiles. Second, the installation requires seamless joints. Water must never penetrate the gaps between panels. Third, the system must prevent moisture trapping. Any condensation behind the boards can lead to hidden mold growth. Achieving these criteria requires strict adherence to preparation and adhesive guidelines.
Demolition vs. Direct Overlay Comparison
Project Phase
Traditional Demolition
Direct Overlay
Prep Work
Extensive masking and dust containment.
Basic surface degreasing and scuffing.
Labor Hours
24 to 48 hours for removal and substrate repair.
2 to 4 hours for surface prep.
Debris Volume
Hundreds of pounds of sharp, heavy rubble.
Minimal (empty adhesive tubes and panel trimmings).
You cannot install new panels over failing tiles. The old wall must act as a rock-solid foundation. We use the "tap test" to verify substrate integrity. Take the handle of a heavy screwdriver or a wooden mallet. Lightly tap the existing tiles across the entire wall. Listen carefully to the acoustics. A sharp, high-pitched click indicates a solid bond. A hollow, drum-like echo means the underlying adhesive has failed. If you find hollow zones, you must remove those specific tiles. You cannot overlay a wall that is actively detaching from its studs.
Surface Flatness Tolerances
Modern rigid boards require relatively flat surfaces. Plumb and level deviations can cause joint misalignment. Industry standards typically recommend a flatness tolerance of 1/8 inch over a 10-foot span. Lay a long spirit level across your tile wall. Look for large gaps behind the level. You can fill minor dips with a fast-setting leveling compound. However, severe bulges or structural warping will ruin the installation. You must correct major deviations before attempting to glue any panels.
Depth and Clearance Reality Check
Adding panels over tiles makes your wall thicker. You must factor this added depth into your planning. An average installation adds about 10mm total. The board accounts for 8mm, while the adhesive accounts for 2mm. This new thickness impacts your existing fixtures. Window jambs might require new extension trims. Door casings may sit flush instead of overlapping. You also need to assess your plumbing and electrical elements. Shower valve stems must be long enough to reach through the new panels. Electrical boxes might require plastic box extenders to meet local building codes.
3. Material Evaluation: Why Carbon Crystal Board Works for Overlays
Rigidity and Grout Line Bridging
Contractors often try to use thin, flexible vinyl sheets over tiles. These thin materials usually fail miserably. Flexible vinyl bends under pressure. Over time, the material sinks into the old grout lines. We call this visual defect "telegraphing." It ruins the smooth finish of the wall. Rigid carbon panels prevent this issue entirely. They boast a high-density structural core. This core spans wide grout lines easily without deforming. The surface remains perfectly flat, regardless of the grid pattern hidden underneath.
Aesthetic Continuity
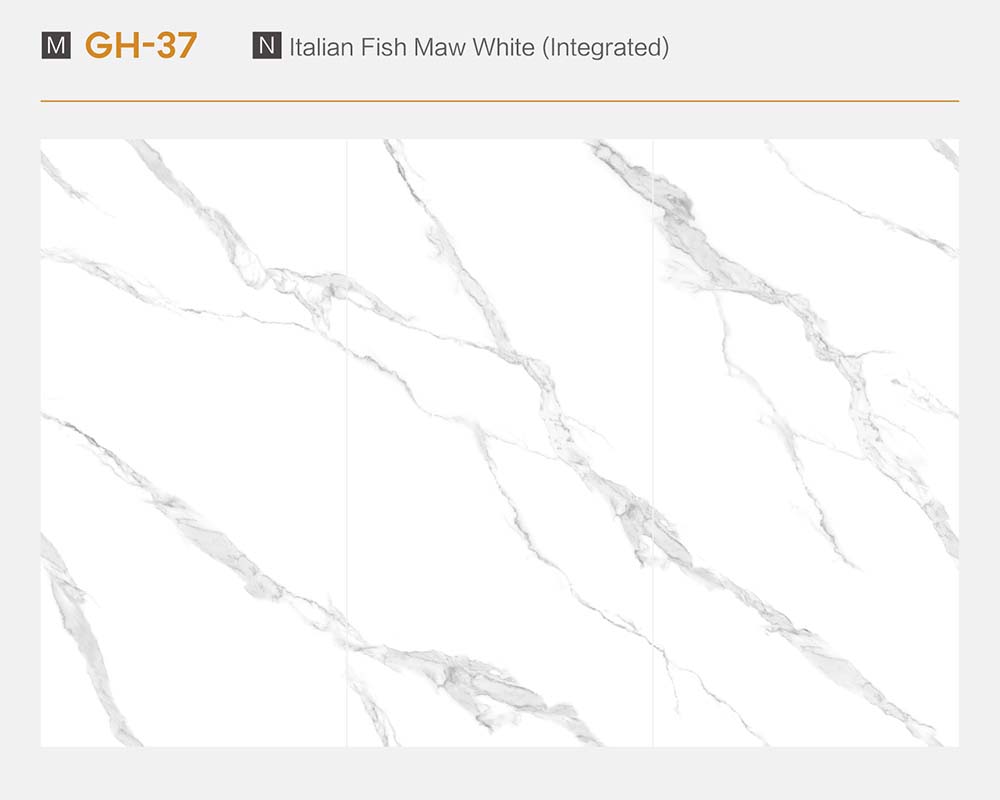
Creating a high-end luxury look often involves heavy materials. Natural marble slabs weigh hundreds of pounds. Installing them over existing tile is structurally impossible without heavy anchors. You can bypass this weight limitation by using an 8mm Glossy Marble Carbon Wall Panel. These engineered boards replicate premium stone finishes flawlessly. They feature continuous veining patterns for seamless visual flow. They deliver the exact aesthetic of heavy stone slabs but remain lightweight enough for adhesive-only mounting.
Moisture & Fire Performance
Commercial compliance requires strict safety ratings. Wet areas demand completely waterproof solutions. Fire codes mandate specific flame-retardant properties for wall coverings. Carbon panels excel in both categories. The extruded core does not absorb water. It will not swell, rot, or degrade in humid environments. Furthermore, high-quality boards feature excellent fire-retardant properties. They resist ignition and slow the spread of flames. These features make them ideal for commercial bathrooms, hotel lobbies, and residential kitchen backsplashes.
4. Step-by-Step Implementation: The Overlay Protocol
Step 1: Deep De-Greasing & Scuffing
Glazed tiles are designed to reject moisture and stains. This means they also naturally reject adhesives. You must alter the surface chemistry before gluing. First, remove all soap scum, body oils, and old sealers. Wash the wall thoroughly with a heavy-duty degreaser like TSP (Trisodium Phosphate). Rinse it clean and let it dry. Next, you must break the glossy glaze. Lightly abrade the tiles using 80-grit sandpaper or a diamond grinding pad. This scuffing creates micro-scratches. These scratches provide the necessary mechanical grip for your adhesive.
Step 2: Adhesive Selection & Application
Standard water-based mastics will fail on glazed surfaces. They rely on evaporation to cure. Trapped between glass tile and a waterproof panel, they will never dry. You must use moisture-curing formulas instead. Specify high-grab structural polyurethane adhesives. Alternatively, choose specialized modified silane (MS) polymer adhesives. Apply the adhesive to the back of the panel in vertical beads. Do not use loops or circles. Vertical lines allow trapped air to escape when you press the board onto the wall.
Step 3: Managing Wet Environments (Showers)
Shower overlays require extreme waterproofing care. Water must never get behind the new boards. Follow a strict critical path for sealing joints. Apply a generous bead of mold-resistant structural silicone inside every connecting groove. As you push the panels together, the silicone should squeeze out slightly. Wipe the excess away immediately. Pay special attention to the bottom edge. Leave a 1/8-inch expansion gap where the panel meets the shower pan or tub lip. Fill this entire gap with premium waterproof silicone.
Step 4: Edge and Corner Profiling
Exposed panel edges look unfinished and invite moisture damage. You must encapsulate every exposed cut safely. Utilizing the correct finishing profiles solves this problem.
Internal Corners: Use color-matched PVC inside corner trims to hide expansion gaps and seal out water.
External Corners: Apply aluminum angle trims for high-traffic areas to prevent impact damage.
End Caps: Install sleek J-trims where the paneling stops midway across a wall.
Base Connections: Use a specialized bottom trim with a drip edge if installing over a tiled baseboard.
5. Potential Risks & Objection Handling
Risk of Hidden Moisture Damage
Covering a bad wall does not magically fix it. We must acknowledge a crucial risk. Overlaying panels hides the old surface, but it cannot cure pre-existing issues. If your current wall suffers from mold, structural rot, or active plumbing leaks, stop immediately. Trapping moisture behind waterproof boards will accelerate structural decay. You must investigate any musty smells or spongy drywall sections. Repair all leaks and eradicate mold colonies completely before you begin the overlay process.
The "Thick Wall" Disadvantage
Adding 10mm of total depth creates unique functional challenges. Plumbers refer to this as the "thick wall" disadvantage. Your shower control valves may no longer protrude far enough. Escutcheon plates might fail to thread onto the stems. You must address this early in the planning phase. Purchase valve extension kits from your fixture manufacturer. Additionally, standard electrical outlets will become recessed. You must install plastic electrical box extenders to bring the receptacles flush with the new surface. This ensures both safety and aesthetic compliance.
Future Removal Difficulties
We believe in setting transparent expectations. Structural polyurethane adhesive creates a permanent, aggressive bond. It cures into an incredibly tough rubber-like state. You cannot easily peel these panels off once the adhesive sets. If you decide to change your design in ten years, removal will be difficult. Pulling the boards off will likely rip the original tiles straight off the drywall. You should treat this overlay as a permanent renovation. Expect a full tear-down to the studs if you ever want to remove them.
Conclusion
Carbon crystal board overlays offer a highly efficient and credible solution for modernizing interiors. They eliminate the immense labor, dust, and expense associated with traditional tile demolition. By leveraging high-density rigid panels, you can bridge old grout lines effortlessly. Always ensure your existing substrate is structurally sound and thoroughly degreased. Choose aggressive moisture-curing adhesives to guarantee a permanent bond. Address plumbing and electrical depth changes early to prevent delays. We encourage project managers and homeowners to order a sample kit today. Test the panel rigidity yourself, or consult with a technical specialist to verify your specific wall conditions.
FAQ
Q: Can shower wall panels be installed over existing bathroom tiles?
A: Yes, but the existing shower pan/tub lip must be properly integrated, and 100% waterproof sealants must be used on all joints.
Q: Do I need to fill the grout lines before installing the panel?
A: Generally, no. An 8mm thick carbon crystal board is rigid enough to bridge standard grout lines (up to 1/4 inch) without telegraphing.
Q: What is the best adhesive for sticking carbon panels to glossy tile?
A: High-grab polyurethane structural adhesive or heavy-duty MS polymer adhesives. (Scuffing the glossy tile first is highly recommended for mechanical grip).
The company was established in 2018 and specializes in new environmentally friendly indoor decorative materials such as SPC flooring, WPC flooring, carbon crystal flooring, wood veneer panels, and carbon crystal wall panels.