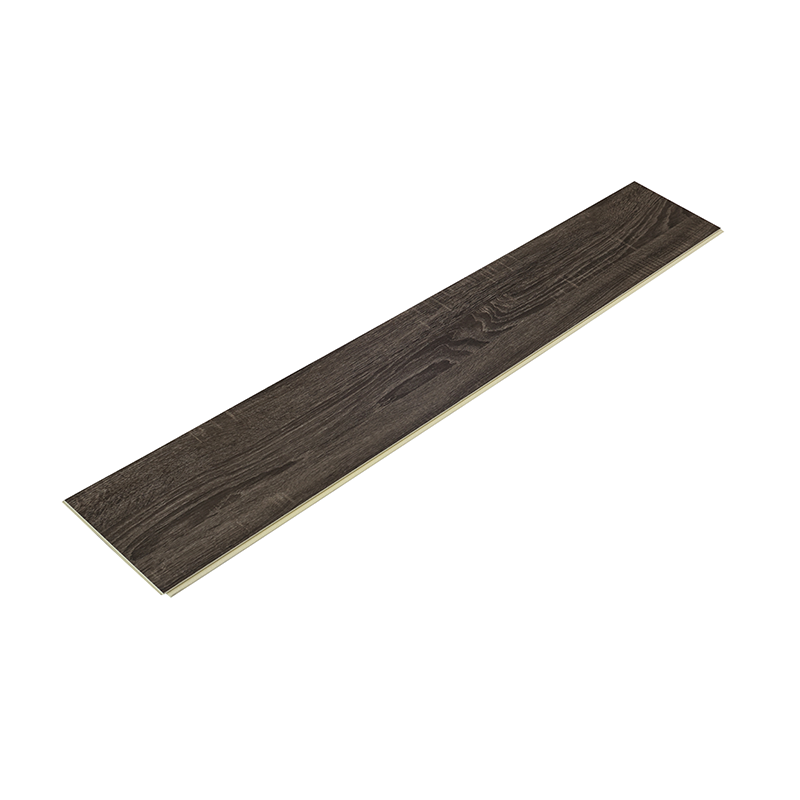
Strengths of Wood Plastic Composite (WPC) flooring
Durable: Resistant to scratches, dents, and stains.
Embossed Texture: The wood grain texture is so realistic that it’s hard to distinguish from genuine wood, adding a natural and beautiful touch to any space.
8mm thickness: Provides a soft, cushioned feel, making the floor comfortable to walk on barefoot.
Waterproof: WPC is 100% waterproof, and is Ideal for moisture-prone areas like kitchens and basements.
Formaldehyde free: Meets the European Standard of less than 0.01 mg/m³, ensuring safety and eco-friendliness.
Easy Installation and Lightweight: Installed with a click-lock floating system, no glue is needed, making it easy to install and reuse.
Low maintenance: Easy to clean and requires minimal upkeep compared to real wood.
️ Ultimate WPC Flooring Installation Guide (2025 Update)
Learn how to install WPC flooring like a pro with this step-by-step guide. Whether you're upgrading your living room, kitchen, or commercial space, this waterproof, durable flooring option offers long-lasting performance with minimal maintenance.
What You Need to Install WPC Flooring
✅ Essential Materials
WPC Flooring Planks – 100% waterproof, scratch-resistant, and highly durable
Underlayment – Acts as a moisture barrier and improves sound insulation
High-Quality Flooring Adhesive (if using glue-down method)
Transition Strips & Joint Covers – For smooth transitions between floor types
Required Tools
Circular Saw or Jigsaw – For clean, accurate plank cuts
Measuring Tape & Ruler – Ensures precise fitting
Pencil or Marker – Mark cutting lines clearly
Utility Knife – Trim underlayment and finer adjustments
Rubber Mallet – Secure tight connections
Flooring Spacers – Maintain 8–10mm expansion gaps
Step-by-Step WPC Flooring Installation Instructions
1. Prep the Subfloor
Ensure the surface is clean, dry, and level (max 3mm height variation)
Use a vacuum to remove all dust and debris
2. Install Underlayment
Roll out underlay in the same direction as flooring planks
Overlap seams by 2–3 inches and tape them securely
Use a utility knife to trim any excess material
3. Measure & Cut Flooring Planks
Use a tape measure and pencil to mark each cut
Cut planks using a fine-tooth blade for smooth edges
Always dry-fit before final installation to check alignment
4. Lay the WPC Flooring
Start from the longest wall in the room
Use click-lock system: insert at an angle and press down firmly
Tap gently with a rubber mallet to tighten seams
Stagger joints by at least 8 inches for strength and appearance
5. Final Touches
Inspect for any gaps or uneven sections
Install transition strips at doorways or room dividers
Remove spacers and add baseboards or moldings
Pro Tips for Flawless WPC Flooring Installation
✅ Let WPC planks acclimate for 48 hours in the room before installation
✅ Always maintain expansion gaps along walls and fixed structures
✅ Use a tapping block to avoid damaging plank edges
Best Places to Use WPC Flooring
WPC (Wood Plastic Composite) flooring is versatile and perfect for various environments:
Living Rooms – Warm, stylish, and comfortable underfoot
Kitchens & Bathrooms – Completely waterproof and easy to clean
Shower Rooms – Withstand high humidity and splashes
Commercial Spaces – Ideal for high-traffic, low-maintenance areas
Why Choose WPC Flooring?
✅ 100% Waterproof
✅ Scratch & Dent Resistant
✅ Easy to Install (DIY-Friendly)
✅ Ideal for Residential & Commercial Use
✅ Stylish Wood-Look Designs


